Three Trees & A Coop
  • Home
  • About
    • Our Story
    • Booking
    • Delivery
  • Greenhouses
    • Our Greenhouses
    • Stanton Greenhouse
    • Varina Greenhouse
    • Queen Anne Greenhouse
  • Chicken Coops
    • Chickbana Coop
    • Henningway Coop
    • Lukenbawk Coop
  • Resources
    • Blog
    • Prepping the Land
  • Contact
  • Shop
  • More
    • Home
    • About
      • Our Story
      • Booking
      • Delivery
    • Greenhouses
      • Our Greenhouses
      • Stanton Greenhouse
      • Varina Greenhouse
      • Queen Anne Greenhouse
    • Chicken Coops
      • Chickbana Coop
      • Henningway Coop
      • Lukenbawk Coop
    • Resources
      • Blog
      • Prepping the Land
    • Contact
    • Shop
Three Trees & A Coop
  • Home
  • About
    • Our Story
    • Booking
    • Delivery
  • Greenhouses
    • Our Greenhouses
    • Stanton Greenhouse
    • Varina Greenhouse
    • Queen Anne Greenhouse
  • Chicken Coops
    • Chickbana Coop
    • Henningway Coop
    • Lukenbawk Coop
  • Resources
    • Blog
    • Prepping the Land
  • Contact
  • Shop

Greenhouse Prep

Chicken Coop Prep

Chicken Coop Prep

All you need to know about choosing an area, ground preparation, and foundations.

Learn more

Chicken Coop Prep

Chicken Coop Prep

Chicken Coop Prep

Where to put your coop, what foundation to put it on, and what to put in it.

Learn more

Preparing Your Space for a Three Trees Greenhouse

A little preparation before installation goes a long way toward making sure your greenhouse is beautiful, functional, and structurally sound for years to come. Before your scheduled build, you'll need to choose the right location and have the site completely prepared for us.


Below, we've put together the most important things to consider—from sunlight and drainage to foundations and flooring.
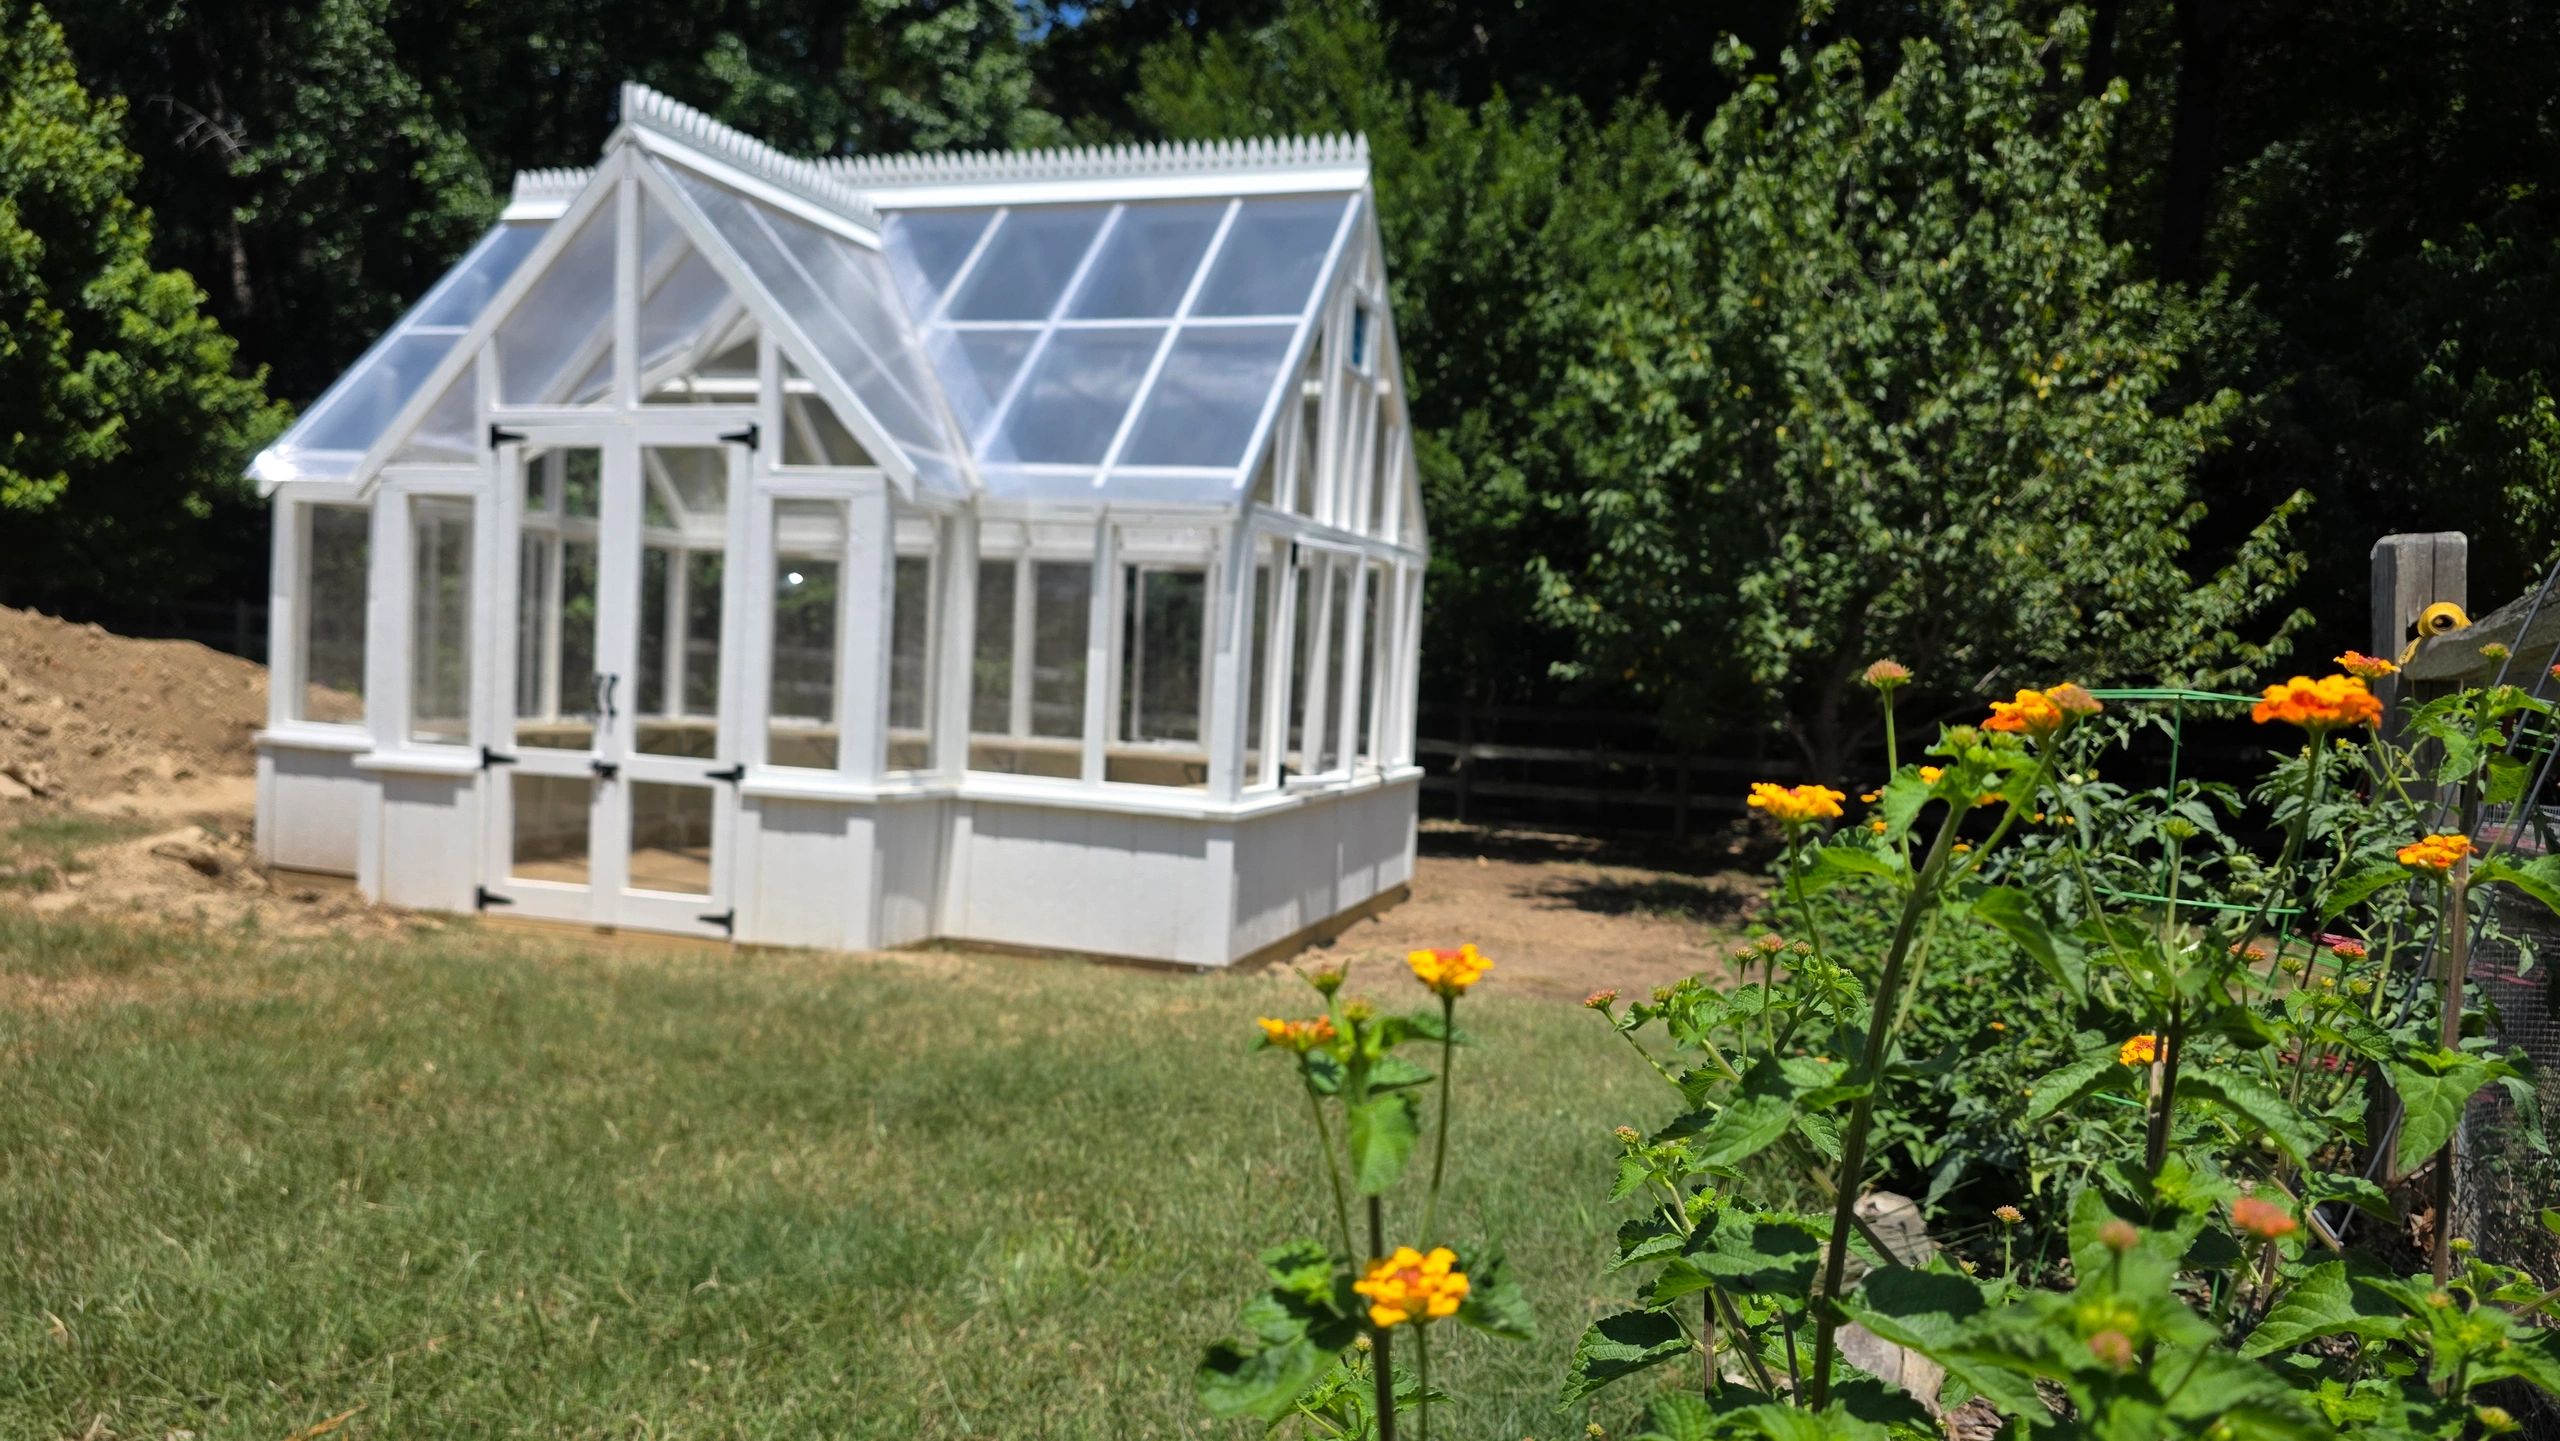


Choosing the Best Location for Your Greenhouse

Before preparing the site, considert how you'll actually use your greenhouse. A convenient location often gets used far more than one tucked into a forgotten corner of the property.

Sunlight

Trees and shade

Trees and shade

 Look at how the sun moves across your property throughout the day and throughout the year. For most growing purposes, a location receiving plenty of direct sunlight—particularly during the winter months—is ideal. 

Trees and shade

Trees and shade

Trees and shade

Nearby deciduous trees can provide welcome afternoon shade in summer, but large trees can also drop branches, leaves, sap, and debris onto the greenhouse. Remember that a shady summer location may look completely different once the leaves fall. 

Drainage

Trees and shade

Accessibility

 Avoid low areas where rainwater naturally collects. Water should move away from, rather than toward, the greenhouse.

Accessibility

Local requirements

Accessibility

Think about how often you'll be carrying plants, soil, tools, and supplies back and forth. A beautiful greenhouse is even better when it's convenient to use! 

Utilities

Local requirements

Local requirements

 If you eventually want electricity or water inside the greenhouse, consider its proximity to your home or existing utility connections when choosing the location. 

Local requirements

Local requirements

Local requirements

 It is the homeowner's responsibility to check applicable HOA rules, setbacks, permits, easements, and local requirements before installation.

Your Site Must Be Level

This is one of the most important parts of preparing for your Three Trees greenhouse:


Clients must provide a square, completely level, installation-ready area before we arrive. UNLESS our brick knee wall foundation has been chosen.


Level

Brick Knee-wall

Grading

Our greenhouses are traditionally framed structures. If the base isn't level and square, that discrepancy continues upward through the framing and can affect walls, doors, windows, roof lines, and finish work.


At an absolute minimum, the entire perimeter where the greenhouse base will sit must be square and level.


Grading

Brick Knee-wall

Grading

We do not grade, excavate, level, or prepare standard greenhouse sites. This work must be completed by the homeowner or a qualified landscaping, grading, concrete, or hardscape contractor before our scheduled installation.

Brick Knee-wall

Brick Knee-wall

Brick Knee-wall

The exception is a Three Trees brick knee-wall foundation purchased as part of your greenhouse project. In that case, we'll handle the foundation work included within the scope of that option.

Concrete Pads

A concrete slab can make an excellent permanent greenhouse foundation and floor, but it needs to be planned carefully.

The greenhouse's footprint—particularly where our base framing will sit—needs to remain square and level. A heavily pitched slab can throw the greenhouse framing out of level.


At the same time, you'll want to consider how water will leave the space. Depending on your site, your concrete contractor may recommend a very slight, carefully planned slope or drainage solution such as a French or channel drain.


If incorporating slope for drainage, communicate clearly with your contractor that a traditionally framed greenhouse will be installed on top of the pad. The greenhouse base itself cannot follow a significant slope.


If you're unsure, contact us with your plans before having the pad poured.

Greenhouse Flooring Options

You don't necessarily need a concrete slab. There are plenty of attractive greenhouse flooring options depending on the look, drainage, maintenance, and budget you prefer.  


You can also combine materials—for example, a brick or paver center aisle with pea gravel beneath the benches.


Whatever flooring you choose, proper drainage and a stable, level perimeter for the greenhouse itself are the priorities.

Pea gravel

Crushed stone or compacted gravel

Crushed stone or compacted gravel

 Pea gravel is a popular choice because it drains well, is relatively inexpensive, and creates a classic garden feel. It can also be refreshed or topped off over time. 


Crushed stone or compacted gravel

Crushed stone or compacted gravel

Crushed stone or compacted gravel

 Crushed stone or compacted gravel can provide excellent drainage and a firmer surface than loose pea gravel. Proper preparation underneath is important to prevent settling. 

Brick or pavers

 Brick or pavers create a beautiful, traditional greenhouse floor and can complement our wood-framed structures especially well. They can be installed throughout the greenhouse or used to create a central walkway surrounded by gravel. 

Concrete

 Concrete provides a clean, durable, low-maintenance surface and makes it easy to sweep, roll carts, and move heavy pots. 

Can I Add Water or Electricity?

Absolutely—but Three Trees does not install electrical or plumbing systems.


Many of our clients eventually add outlets, lighting, heaters, fans, sinks, hose connections, irrigation systems, or other utilities to their greenhouse. These can generally be installed after the greenhouse is constructed by the appropriate licensed contractors.


If you know you'd eventually like utilities, it's worth considering that when choosing your greenhouse location. Placing the greenhouse 20 feet from an existing power or water source is a very different project for your contractor than placing it 200 feet away.


For concrete installations, you may also want to speak with your electrical or plumbing contractor before the slab is poured if they recommend installing conduit, sleeves, drains, or other infrastructure beneath it.

Before We Arrive

Before your scheduled installation, please make sure:

1. The greenhouse location has been chosen and clearly established.

2. The installation area is completely cleared and accessible.

3. The greenhouse perimeter is square, stable, and level.

4. Grading, excavation, concrete, gravel, paver, drainage, or other site preparation is complete.

5. You've considered how rainwater will drain around and away from the greenhouse.

6. Permits, HOA approvals, setbacks, easements, or other property requirements have been addressed.

Preparing Your Space for a Three Trees Chicken Coop

Preparing your site ahead of time helps installation go smoothly and ensures your new coop has a stable place to sit for years to come. Unlike our greenhouses, chicken coops are a little more forgiving—but the site still needs to be properly prepared before we arrive. 


Choose Your Location

When deciding where to place your coop, consider drainage, shade, accessibility, and convenience. 


You'll be visiting the coop every day, so think about the walk from your home, access to feed and water, and how easy it will be to reach the coop in rain or winter weather.


A little natural shade can be wonderful during our North Carolina summers, but avoid low-lying areas where water collects or locations directly beneath questionable tree limbs

Prepare a Level, Cleared Area

Prepare a Level, Cleared Area

Prepare a Level, Cleared Area


Before installation, the entire footprint of the coop and run should be cleared, reasonably level, and accessible.


Three Trees does not provide grading, excavation, tree removal, or general site preparation, so any necessary work should be completed before your scheduled installation.


Small variations in the ground can usually be accommodated, but significant slopes, holes, roots, rocks, or uneven terrain can prevent the coop from sitting properly and may make onsite assembly impossible without additional site preparation.

Consider Drainage

Prepare a Level, Cleared Area

Prepare a Level, Cleared Area

Chickens can turn a poorly drained run into a muddy mess surprisingly quickly! 


Choose an area where water naturally drains away rather than collects.


Depending on your property, you may want to prepare the area with compacted stone, gravel, sand, or another well-draining base. 


Your landscaping or grading contractor can help determine what's appropriate for your particular site.

Flooring & Ground Cover

Prepare a Level, Cleared Area

Flooring & Ground Cover

Your run doesn't need a concrete floor. In fact, many owners prefer to leave the run over natural ground and add their preferred bedding or ground cover afterward.

Popular options include 

coarse sand, pine shavings, gravel in appropriate areas, or combinations of materials depending on your cleaning routine and drainage needs.


If you're planning a perimeter foundation for your coop such as concrete, pavers, or another permanent surface, please make sure the dimensions correspond with your coop before having it installed.

Before We Arrive

Before your scheduled installation, please make sure:

Your coop and run area is cleared, reasonably level, accessible, and ready for construction before our scheduled installation date. 

Homeowners are also responsible for determining applicable HOA requirements, property setbacks, easements, permits, and local regulations. 

Once the space is ready, we'll take it from there—and turn that empty patch of yard into a pretty great place to be a chicken.  

Copyright © 2026 Three Trees - Formerly Three Trees & A Coop - All Rights Reserved.

Powered by

  • Delivery
  • Privacy Policy
  • Terms and Conditions

Booking Into 2027

 We’re grateful for your support and excited to keep creating beautiful garden spaces. Reach out early to reserve your project! 

Interest Form

This website uses cookies.

We use cookies to analyze website traffic and optimize your website experience. By accepting our use of cookies, your data will be aggregated with all other user data.

DeclineAccept